A new terra-cotta pot can look bright and uniform beside older planters. A lime-and-water coating creates a pale, weathered finish, while selective sanding brings the original clay color back through at the edges and raised details. The result depends less on perfect coverage than on controlling how much lime stays on the pot.
Plan the work around the finish you want. A thinner lime mixture makes a subtler effect; a thicker paste leaves a more pronounced coating. Uneven application and sanding can add variation, but the sealer will also change the appearance by removing some lime. That makes it useful to leave more coating than you expect to keep, then judge the surface again after sanding.
Gather the materials and protect the work area
Set out the supplies before mixing. You’ll need a bowl large enough to stir the lime and water, a stir stick, and a foam brush for applying the mixture. Keep medium-grit sandpaper, a clear matte sealer spray made for porous surfaces, gloves, and a protective face mask close at hand. A drop cloth or newspaper will protect the surface beneath the pot.
The gloves are useful when handling the lime mixture and sealer. Wear the face mask for sanding and spraying, as well. Keep the bowl easy to handle and clean, and use a disposable utensil or stir stick if that suits your work area. The key is to have the materials ready before the pot is coated; stopping midway to find supplies can make it harder to work consistently.
Mix the lime to suit the effect
Combine equal parts garden lime and water in the bowl, then stir until the mixture becomes a smooth paste without lumps. The equal-parts ratio is a starting point, not a guarantee of one exact texture: add water gradually if the paste is too thick to spread with the foam brush. A thinner consistency tends to leave a more restrained, subtle look, while thicker paste produces a stronger aged appearance.
Choose the consistency with the whole pot in mind. A heavy coating can make the surface look more uniformly pale unless you later sand it back; a thinner mixture leaves more of the clay color visible from the beginning. Stir the paste until it is smooth enough to apply evenly, since lumps can leave an unwanted rough or gritty patch. If the mixture changes as you work, stir it again before continuing.
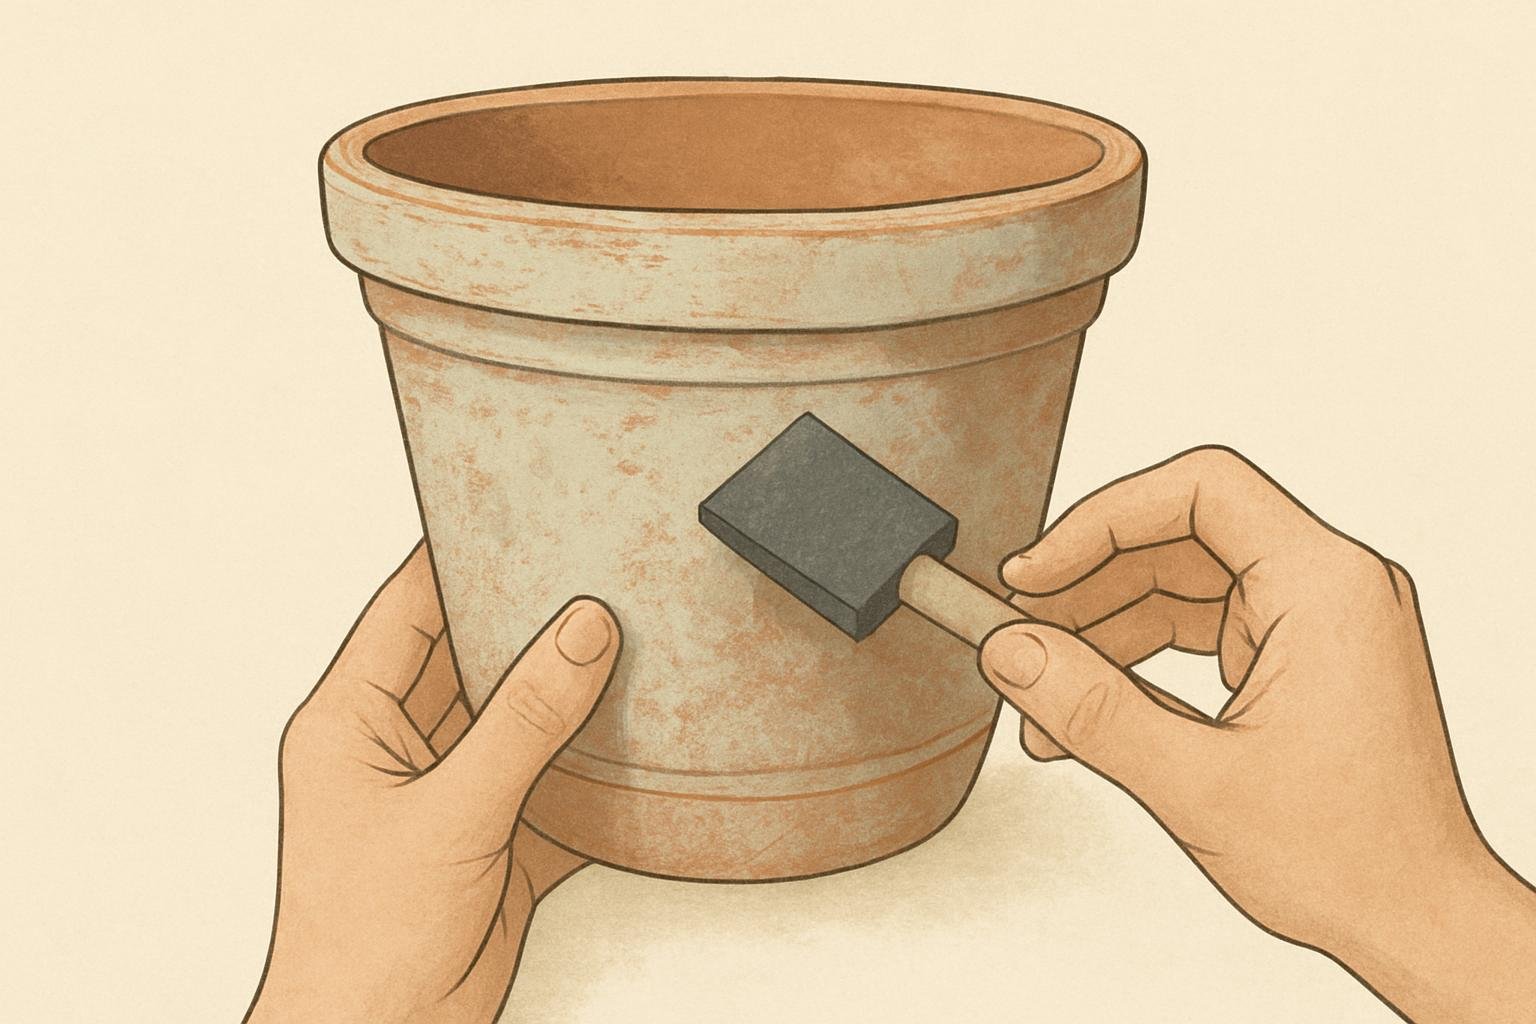
Apply the coating in controlled layers
Use the foam brush to cover the pot’s exterior, including the rim, base, and decorative details. Begin with an even layer so the surface has a consistent starting point, then vary the thickness in selected areas for a less uniform, naturally weathered look. The aim is not to create a perfectly identical coat everywhere; variation gives you room to reveal different amounts of terra-cotta later.
If you want a stronger pale finish, add a second layer. Let the first layer dry slightly before applying another so the coating is less likely to drip and the coverage stays more even. Avoid rushing straight into another coat: a wet layer can be disturbed by the next pass of the brush. At the same time, you don’t need to make every area equally thick. The rim, base, and raised details can be treated with attention without turning the entire pot into a solid block of lime.
Step back periodically and look at the overall distribution rather than concentrating on one small spot. An irregular pattern is part of the intended effect, but deliberate variation differs from accidental bare patches or drips. If the pot looks more heavily coated than you want, sanding will expose clay in chosen areas; if the first application is too light, another layer can deepen the effect before sanding begins.
Sand for the aged appearance
Wait until the lime mixture has dried completely before sanding. Use medium-grit sandpaper lightly at first, concentrating on edges and raised areas where a worn finish would be most visible. Work in a few spots more firmly and leave other areas less disturbed. That uneven treatment lets the terra-cotta show through in places instead of removing the coating across the whole pot.
Sandpaper can also smooth rough or gritty areas, but the goal is not to make the finish uniformly smooth or uniformly bare. Check the pot as you go and stop when the balance of pale lime and exposed clay looks right to you. Because the spray sealer removes some of the lime, leave more of the coating in place than you want in the finished appearance. Sanding away every excess trace now can leave too little visual depth after sealing.
Wear the protective face mask during this stage. Take care around the rim, base, and decorative details, where a small change can be conspicuous. If you sand a section more aggressively than intended, the contrast may be stronger there; varying the treatment elsewhere can help keep the overall finish from looking mechanically uniform.
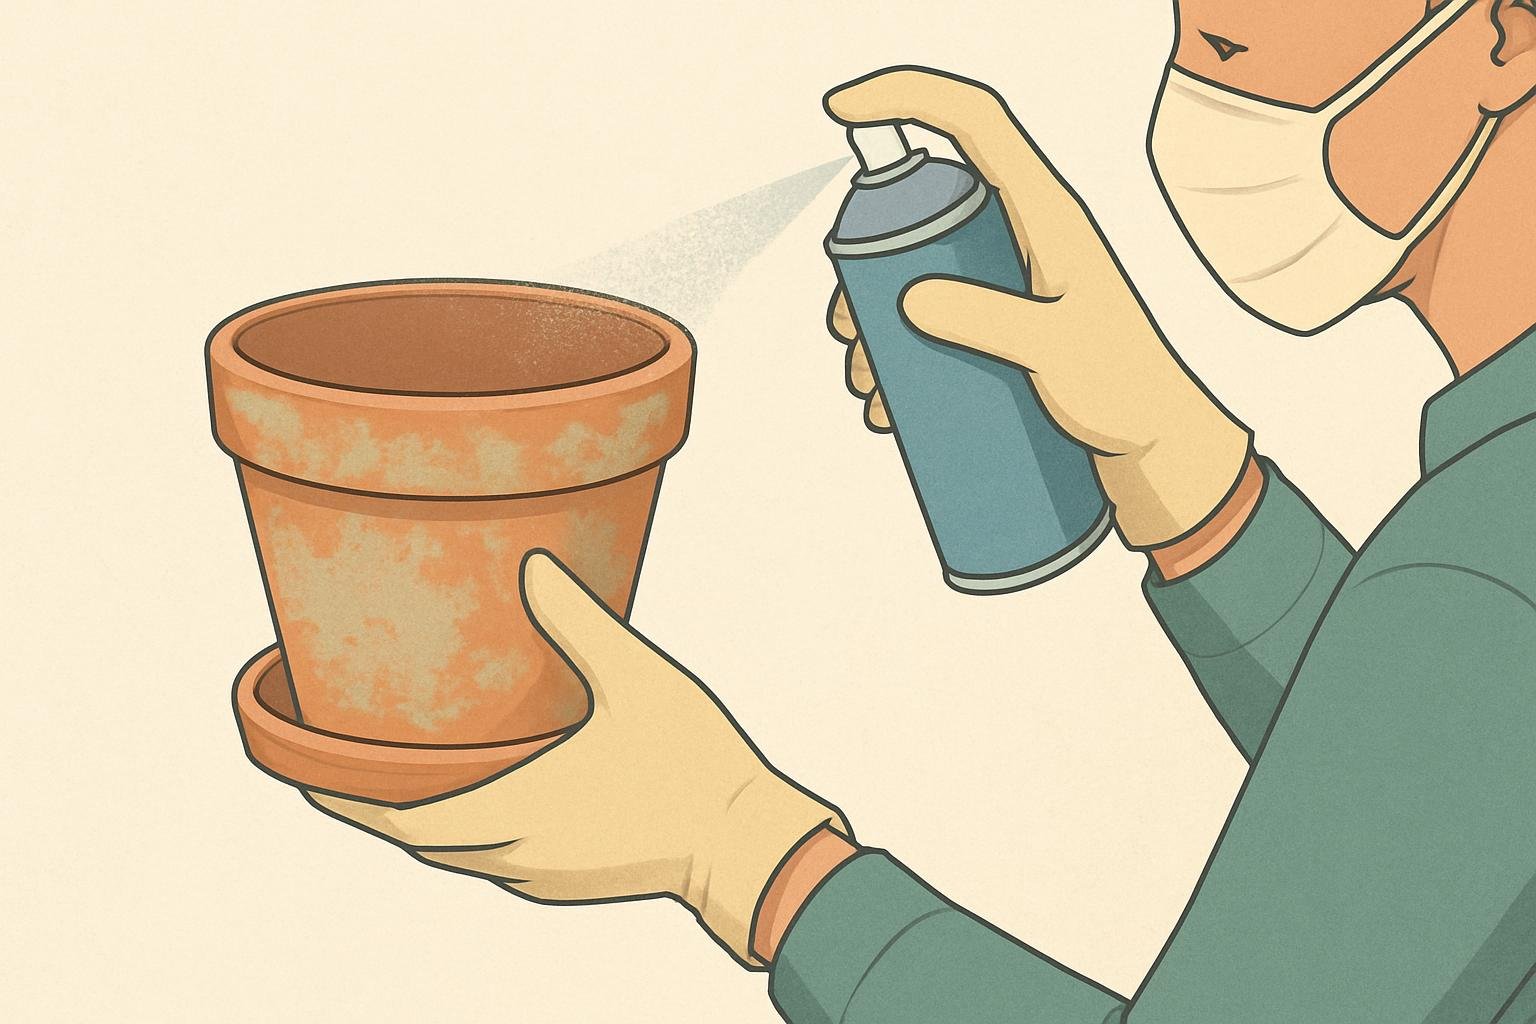
Seal the pot without blocking drainage
Once the surface has the desired pattern, put on gloves and a protective face mask before using the matte sealer spray. Apply it in quick, light passes rather than laying down a heavy coat that might drip or pool. Spray from different angles to reach the surface evenly, and build protection with three to four thin layers. Let each layer dry to the touch before applying the next.
The light coats matter to appearance as well as coverage: pooling can leave an uneven finish, and the spray will reduce some of the visible lime. Don’t judge the final color solely by the unsealed pot. The earlier choice to leave extra lime in place gives you room for that change. Use a clear matte sealer designed for porous surfaces so the finish remains matte rather than acquiring an unintended glossy look.
After sealing the exterior and allowing it to dry, turn the pot over and seal the inside and bottom with the same light-pass approach. Keep the drainage hole clear; do not spray sealer into it. Leave the pot in a well-ventilated area to dry before using it. These final details protect more of the surface while preserving the opening intended for drainage.
Optional ways to change the finish
The lime coating can be adapted, but additions work best when their place in the sequence is clear. For more depth, dry-brush earth-tone acrylic paint over the dried lime mixture before sealing. Dabbing or sponging the lime mixture instead of relying only on brush strokes can also create a different surface texture. These are optional approaches, not steps required for the basic weathered finish.
A small amount of concrete colorant can tint the lime mixture subtly. For a mossy appearance, the described approach is to apply a buttermilk-and-moss-spore mixture to selected areas after sealing. Keep such details limited to spots where you want the effect; adding every treatment can obscure the simple contrast between pale lime and exposed clay that gives the pot its aged look.
Keep the finish intact
Clean the pot gently with a soft, damp cloth or dust it. Harsh scrubbing and power washing can remove the aged finish, so avoid treating the coating as if it were an untouched clay surface. For an outdoor pot, bring it indoors during winter to help prevent cracking. Reapply the sealer annually to preserve the appearance.
When choosing how much to sand, leave room for the sealer to soften the lime effect, and keep the drainage hole open when finishing the bottom. Those two checks help the decorative treatment stay in balance with the pot’s practical use.