A rusty smoker needs careful preparation before it gets a new finish. Grease, grime and loose corrosion can interfere with the paint, while careless scraping or spraying can carry debris into the cooking chamber or onto food-contact surfaces. The job is to clean and repaint the exterior while keeping those areas protected.
Start by looking over the smoker and noting where buildup and rust appear. That inspection helps you choose between a scraper, a wire brush and sandpaper as the work progresses. High-heat paint is also essential: ordinary paint can blister or peel under the temperatures a smoker reaches. Even a suitable high-heat coating, however, belongs only on the exterior—not on grates or other surfaces that touch food.
Set up a protected work area
Gather the supplies before beginning, so you can move from surface preparation to washing without leaving debris on the smoker. You’ll need a tarp, a metal wire brush, a metal scraper, 220-grit sandpaper, dish soap, a bucket, a sponge, a hose and a lint-free cloth. Have cardboard or newspaper ready to cover the smoker’s interior, along with a wet/dry vacuum for loosened rust and grime.
For protection while working, use safety glasses, gloves and an N95 mask. A pop-up canopy can help shield the paint from rain, falling leaves and similar debris. Lay the tarp beneath the work area to catch material removed from the smoker. The tarp and canopy serve different purposes: one contains what comes off, while the other helps keep unwanted material from settling on fresh paint.
Cover the cooking chamber with cardboard or newspaper before brushing or scraping. This barrier helps keep rust, grease and grime out of the interior, and it also helps prevent paint from reaching areas where food is cooked. Keep the covering in place through preparation and painting. Protecting the inside at the outset is easier than dealing with debris or overspray after it has entered the chamber.
Match the tool to the buildup
Examine the affected areas closely before you start removing material. The smoker may have both greasy buildup and corrosion, and the tools are useful in different places. A metal scraper can lift deposits from flatter sections; use it at an angle and press down as you work. The wire brush is useful around edges and other spots where a scraper is less suited to the surface.
Work over the tarp and wear your safety gear as you loosen the buildup. The aim at this stage is to remove grime, grease and material that has come loose—not to cover it with paint. A fresh coating over dirt or loose rust would leave the preparation unfinished. Use the tool that fits the area rather than forcing the scraper across edges or relying on a brush for every flat surface.
Vacuum the loosened debris with a wet/dry vacuum after scraping and brushing. Clearing it away before sanding keeps the remaining work focused on corrosion still attached to the metal. Then hand-sand with 220-grit sandpaper to remove remaining corrosion and prepare the exterior for paint. Sanding is part of the surface preparation; it doesn’t replace removing heavier buildup first.
Pause to look over the exterior again once the scraping, brushing and sanding are done. Check whether grime or rust remains in places you intend to paint. If it does, address it before washing. This second look also helps you avoid treating paint as a way to hide material that should have been cleared from the surface.
Wash away residue and dry the metal
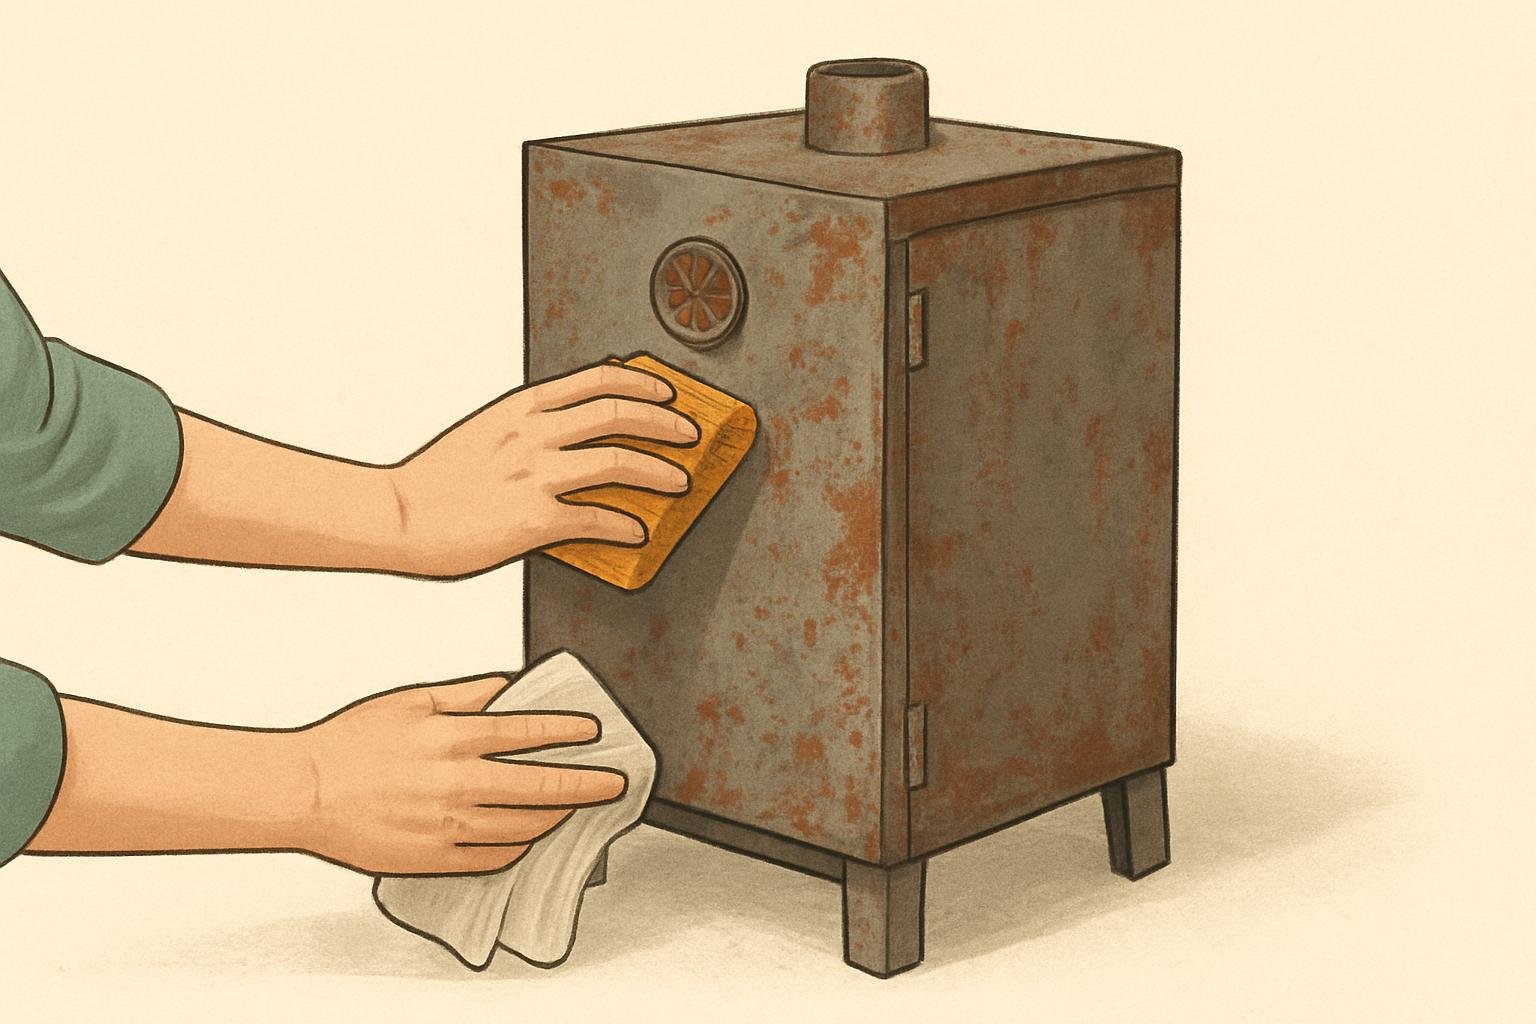
Wash the prepared exterior with warm water and dish soap, using a sponge to remove leftover debris, grease and rust residue. Then go over it again with plain water. The second pass removes soap and material loosened during washing, leaving a cleaner surface for the coating. Keep the interior covering in place so cleaning residue does not get into the cooking chamber.
Dry the smoker with a lint-free cloth after rinsing. Drying promptly helps prevent flash rust from forming on the freshly cleaned metal. Before moving on, check that the surface is clean and dry. If residue is still visible, another careful cleaning pass is more useful than spraying over it. The paint stage depends on the work that came before it.
Choose a coating intended for the exterior
Use high-heat spray paint made for the exterior of grills and smokers, or a product rated for comparable items. Regular paint is not made for the temperatures a smoker can reach and may blister or peel when exposed to heat. The label matters: a high-heat description alone does not establish that a product is intended for a smoker’s exterior.
High-heat paints are designed for different temperature ranges. The examples associated with this project include 600-degree paint, which may offer more color options; 1,200-degree paint, used for items such as fireplaces; and 2,000-degree paint, typically intended for extreme heat. These are examples of varying ratings, not a reason to choose a coating without checking its intended use. Select paint suited to the smoker’s exterior and follow the manufacturer’s directions.
Heat resistance does not mean food safety. High-heat paint is not food-safe, so keep it off cooking grates and every other surface that comes into contact with food. The cardboard or newspaper protects the interior from overspray, but careful application still matters around openings and edges. If a surface is used for cooking or touches food, leave it unpainted.
Apply the paint in controlled passes
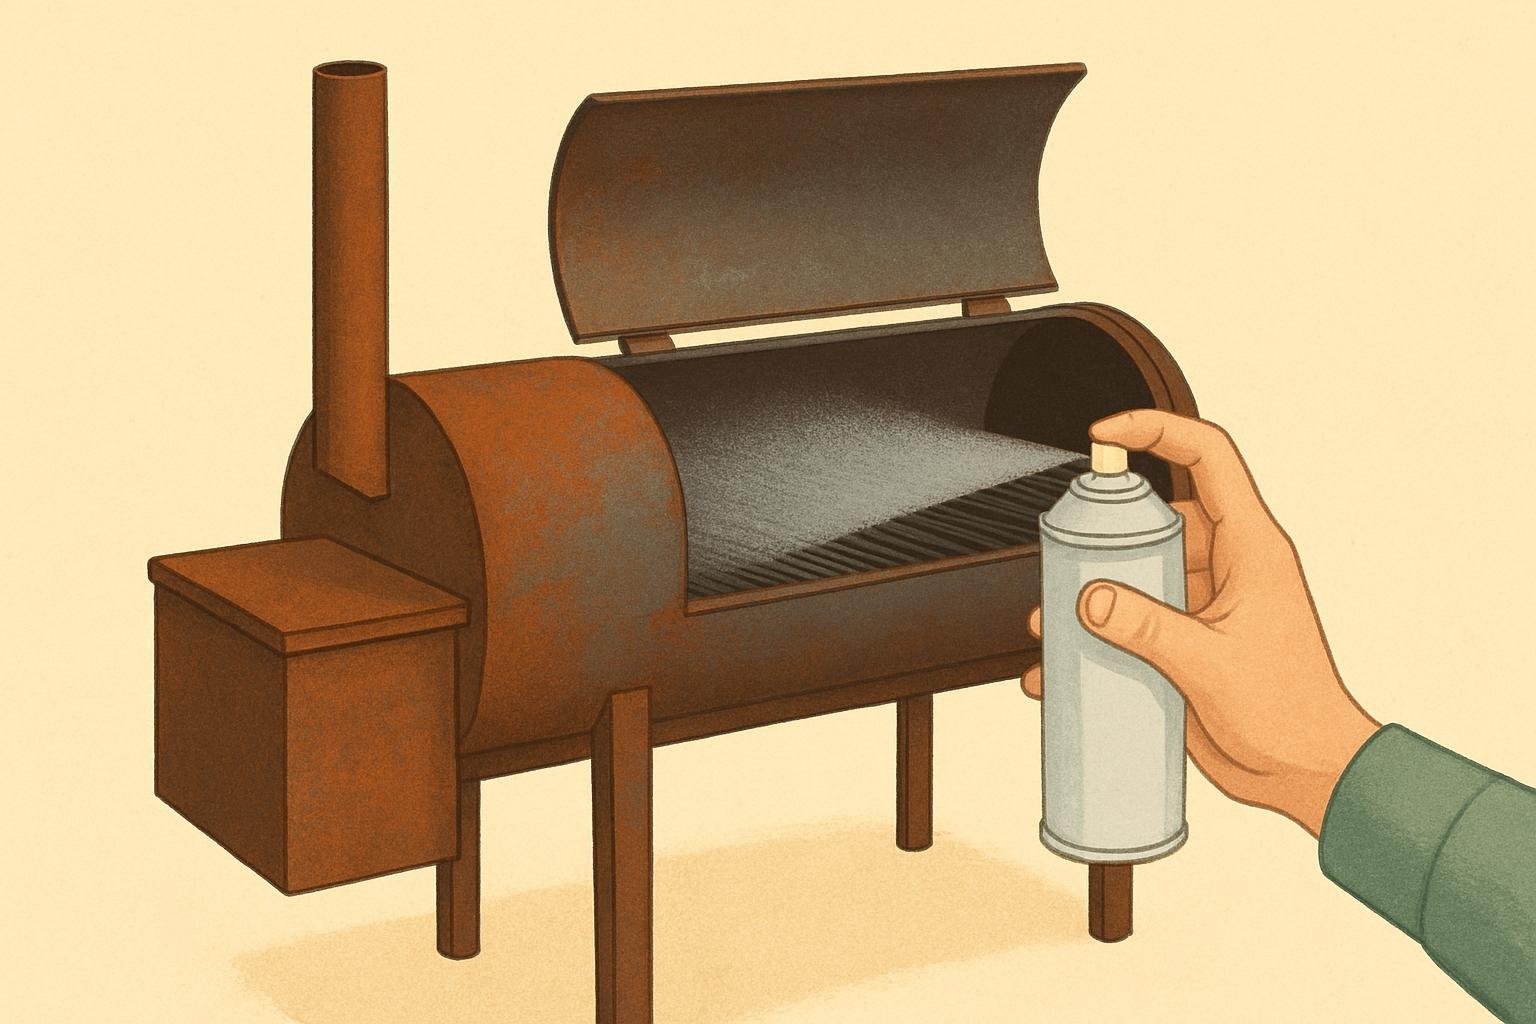
Once the exterior is clean and dry, and the interior remains protected, begin spraying. Hold the can about 5 to 6 inches from the surface and keep it moving steadily. Overlap each pass by about half to provide even coverage. Moving continuously helps reduce drips and splotches; pausing in the middle of a pass can leave paint concentrated in one spot.
Work across the exterior in a consistent sequence, paying attention to the boundaries around the chamber and cooking surfaces. Keep the spray directed at the areas meant to receive paint, rather than letting it reach the inside or grates. If you need to reposition, finish the current pass before changing direction instead of stopping the spray over the metal.
Apply a second coat for a smooth finish, using the same steady movement and overlapping passes. The additional coat is a finishing step, not a substitute for thorough preparation. If the first coat reveals a patch of grime or rust that was missed, more paint will not correct the underlying problem. The surface needs to be properly prepared before the coating goes on.
Wait for the product’s instructions before using the smoker
Do not judge readiness by whether the paint looks dry. Follow the manufacturer’s instructions for drying and curing before using the smoker again. Products differ, so there is no single waiting period that applies to every high-heat paint. Keeping to the label’s directions is part of applying the coating correctly.
Before returning the smoker to use, make sure the paint has stayed on the exterior and away from grates and other food-contact surfaces. The practical boundary is simple: remove buildup from the metal you plan to coat, protect the cooking area during the work, and let the specified finish instructions determine when the smoker is ready.