
How to Paint Clean, Even Stripes on a Wall
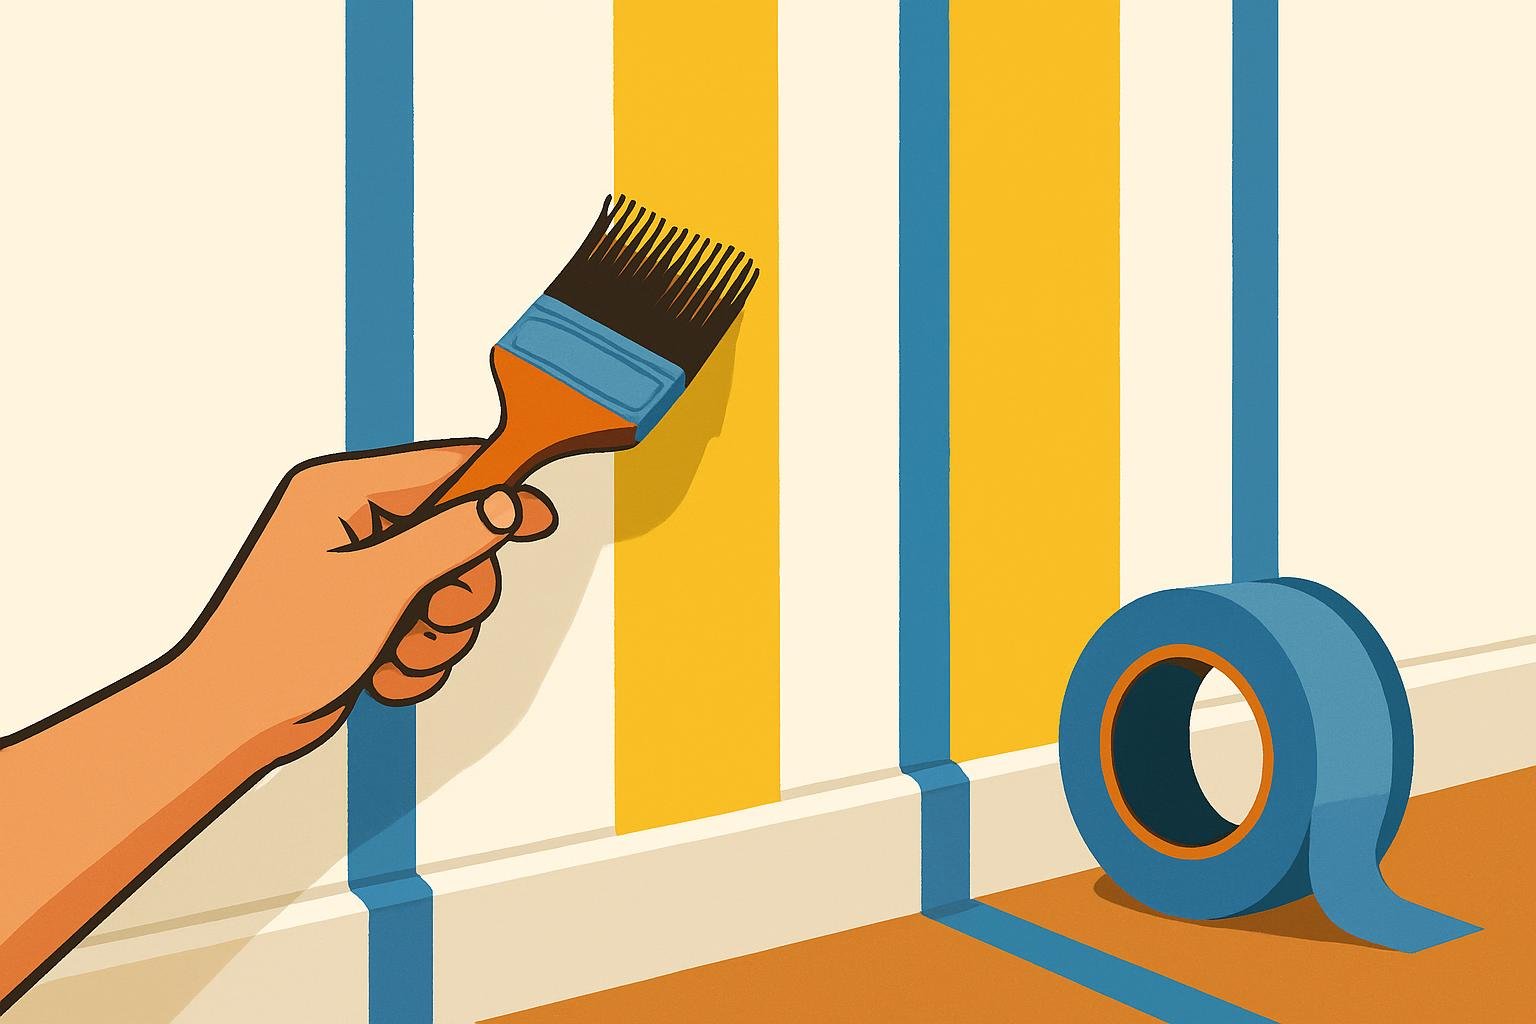
Painted stripes depend on more than a steady hand. The pattern has to fit the wall, the lines need to stay plumb, and the tape edges must be sealed before the stripe color goes on. Careful planning makes those steps easier and helps limit touch-ups.
Before choosing a stripe width, decide whether the design will cover one wall or continue around corners. That choice affects how the pattern meets the wall’s edges. Then prepare the surface and base coat, mark the layout, and work through the tape and paint stages without rushing the drying intervals.
Choose a pattern that fits the wall
Start by deciding whether you want vertical or horizontal stripes. The orientation changes the visual effect: horizontal stripes can make a room seem wider, while vertical stripes can give the impression of higher ceilings. Vertical stripes are the more traditional choice; horizontal ones can feel more modern. Color matters too, so consider the stripe and base colors together rather than treating the layout as the only design decision.
Next, settle on the stripe width and number. Widths of 8, 9, 10 or 12 inches are useful starting points, not fixed rules. The right spacing depends on the wall’s length and the balance you want. Measure each wall that will be painted; if the design wraps around a room, add the wall lengths together before working out the pattern.
Divide the total length by your target width and adjust the width slightly if that gives you a whole number of stripes. For example, a 120-inch wall divides evenly into fifteen 8-inch stripes. If the wall does not divide neatly, get close and leave small differences for the stripes at the corners, where they are less noticeable.
For a single wall, an odd number of stripes puts a stripe at the center and allows the pattern to begin and end with the same color. If stripes continue around corners, use an even number on each wall so a stripe can be centered on each corner, with half on either side. These are layout guides, not requirements; adjust the pattern to suit the wall rather than forcing an awkward width.
Prepare the wall and base coat
Protect the floor with drop cloths and keep the work area well ventilated. Open windows or run a fan to keep air moving while you paint. If the wall is already painted, wipe away dust with a microfiber cloth so the new paint and tape go onto a clean surface.
For a new stripe design, apply the base color first. Let that coat dry and cure for 24 to 48 hours before marking or taping the stripes. This waiting period matters because the tape will sit directly on the finished base coat; starting too soon can compromise the work you have already done.
When changing from a light color to a dark one, use a gray-tinted primer before the base coat. Primer is optional in other situations described for this project. For a subtler pattern, use the same color in a shinier semi-gloss finish instead of changing the hue.
Mark the lines before applying tape
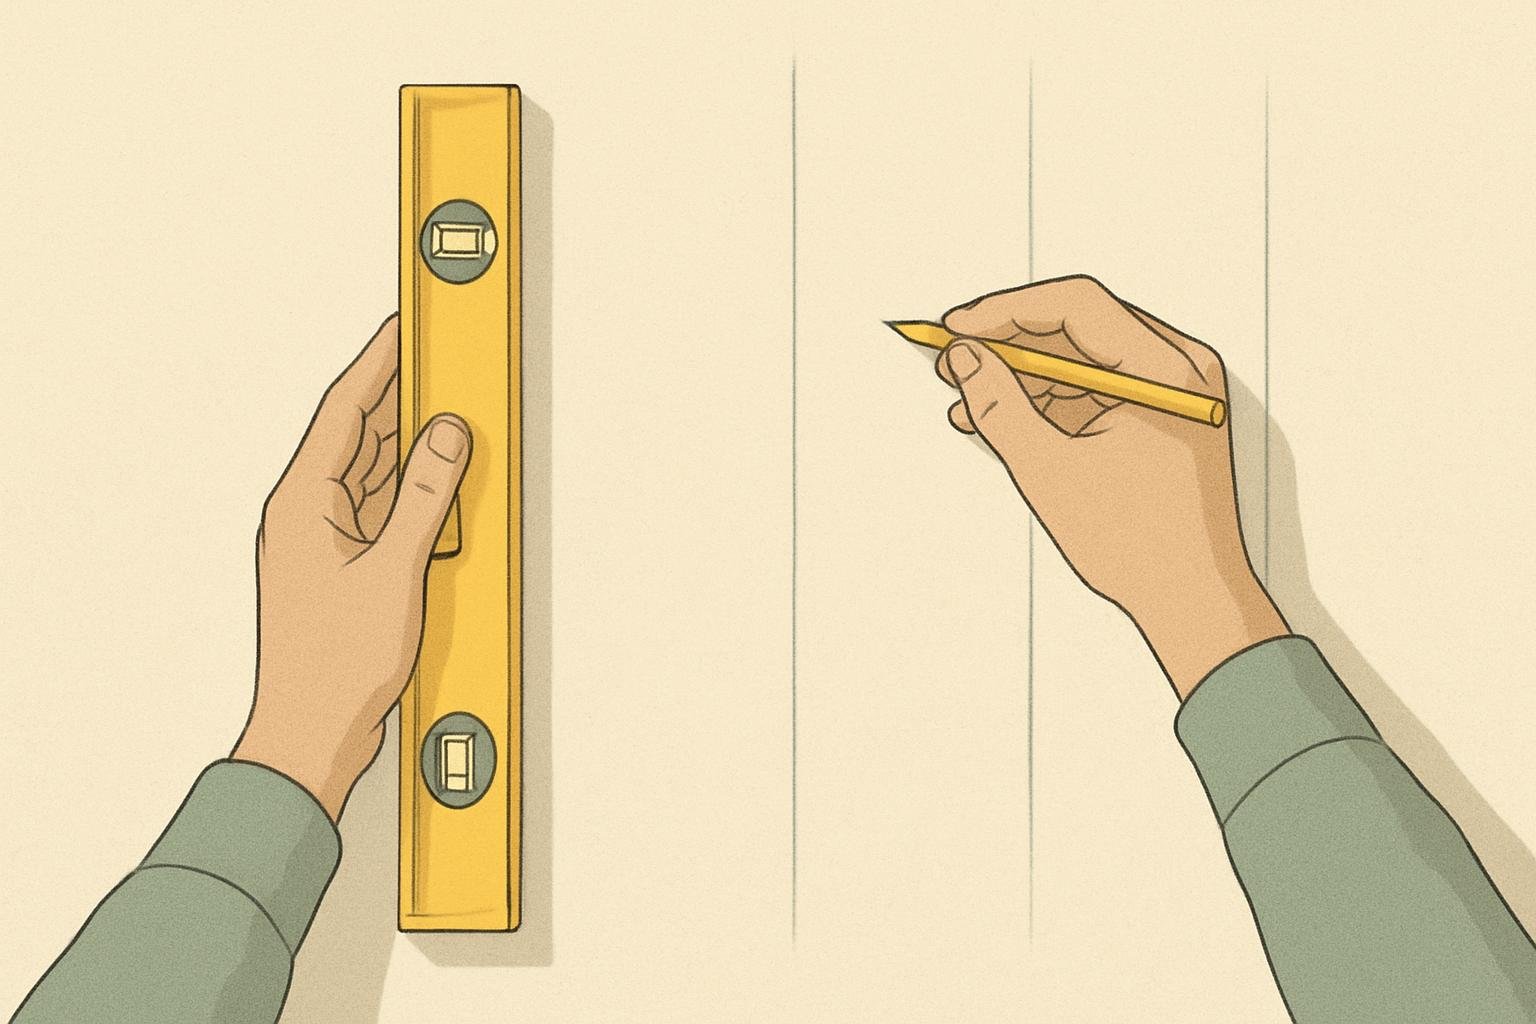
Once the layout is settled and the base coat has cured, measure the wall and make small, light pencil marks at each stripe interval. For a wall with a centered stripe, begin at the midpoint and mark outward in both directions. This helps keep the pattern balanced instead of letting small measuring differences accumulate from one end.
Use a 6-foot level to extend the marks into plumb lines from the top to the bottom of the wall. A chalk line can make those guides easier to follow when you position the tape. Adding baby powder to the chalk line reduces the intensity of the chalk, making it easier to wipe away and less likely to leave a pronounced mark beneath the paint.
Before taping, look over the full pattern. Check that the stripe widths are consistent and that any planned adjustments fall at the corners. This is the point to correct a layout that feels uneven. Once tape is in place, changing the spacing means repeating work and can leave marks to clean up.
Tape carefully and seal the edges
Follow each guide with painter’s tape, consistently placing it on the outside of the chalk line for the stripe you intend to paint. That position lets the stripe color cover the pencil and chalk marks. If tape goes inside the marked line instead, some marks may remain visible and need separate cleanup after painting.
Use tape on the stripes you do not intend to paint as a visual reminder. With alternating bands, it is easy to lose track of which spaces are meant to receive the stripe color, especially when several lines run across the wall. A clear marker helps prevent an accidental coat in the wrong section.
When the tape is positioned, press or burnish its edge against the wall with a credit card, spoon or plastic putty knife. The goal is a firm seal along the edge, which helps limit paint bleeding underneath. Take time to check the full length of each taped boundary; a loose section can create a ragged line even when the layout itself is accurate.
Before applying the stripe paint, use a 1½-inch angled brush to coat the inside edge of each taped stripe with the base color already on the wall. If a little paint seeps under the tape, it will match the surrounding base coat and be much less noticeable. Let this sealing coat dry before continuing.
Roll on the stripe color
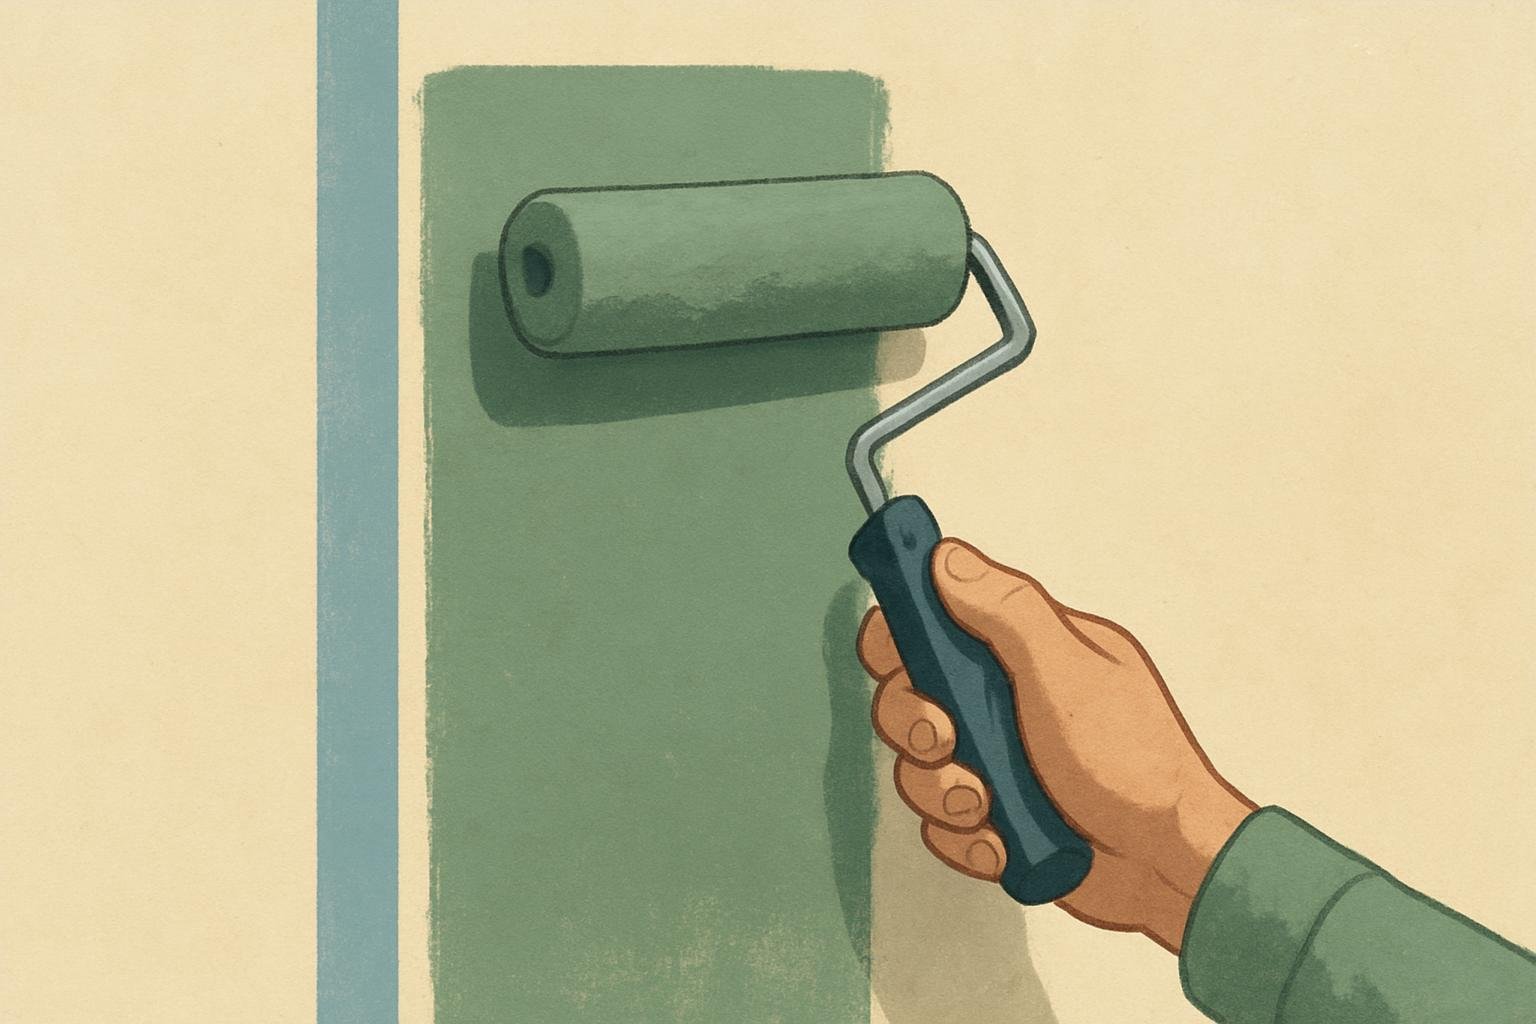
Apply two coats of stripe color between the sealed tape lines, allowing ample drying time between coats. A roller is suited to the larger areas, while an angled brush is useful for the edge-sealing step. Avoid loading the wall with heavy paint at the boundaries; a well-pressed tape edge and the base-color seal do the work of keeping the line crisp.
As you roll, keep a wet edge when adding more paint and lightly even out the coating to reduce lap marks. Lift the roller from the wall while it is still moving rather than stopping in place. These details matter especially if the stripe uses semi-gloss paint, which can reflect the direction of application and make texture or roller marks more apparent.
Do not rush from one coat to the next. Follow the paint’s directions and allow each stripe coat to dry adequately before adding another. The same restraint applies to the tape: removing it at the wrong stage can damage the edge you have taken time to create.
Remove tape and make small corrections
There are two suitable windows for pulling the tape: while the stripe paint is freshly applied and still tacky, or after it has fully cured and dried. For the fully dry option, allow 12 to 24 hours. Avoid the in-between stage, when paint is partly dry but not cured; the tape can pull or tear the finish.
Pull the tape back at about a 45-degree angle. Work deliberately so the tape releases along the painted edge rather than being tugged straight away from the wall. Once it is off, inspect the boundaries. Some touch-up is expected, but careful measuring, firm tape edges and the base-color seal should keep it limited.
Use a small angled artist’s brush to correct bleed lines or other small imperfections. Keep a damp rag close by so you can catch a mistake while the paint is still wet. When you are done, check the whole pattern in good light, including the corners and the edges where the stripes meet the wall boundaries. That final inspection lets you address the few flaws that remain without disturbing the clean sections.