How to Paint Stairs With a Center Runner: Plan the Lines and Finish
A painted runner can define the center of a staircase without adding carpet, but the stripe is only one part of the job. The painted surface still has to work as a walking route, and the boundary tape must follow treads, lips and trim without letting the contrasting color bleed underneath. Planning those details before opening the paint makes the work more controlled.
Start by deciding how the finished stairs should look and how much wear you are willing to accept. The approach here uses a base color around a narrower, contrasting center band. It also adds texture to the paint for traction, while leaving the surface without a clear protective coat. Those are choices to make up front, not details to settle after the stairs are painted.
Choose the color scheme and finish
The base color will remain visible on both sides of the runner, so it has a substantial effect on the staircase’s overall appearance. In the example, it matched the home’s trim; the runner color was selected to coordinate with furnishings. Those choices are not necessary to reproduce, but they show why it helps to consider the stripe and surrounding field as one design rather than choosing the runner color alone.
The paint used was a low-luster enamel intended for porch and patio floors. That is a useful clue about the kind of surface the project involved, not a reason to assume every paint is suitable for every staircase. Select products for the surface and use, and check their instructions before beginning. Color and finish are separate decisions: a shade you like still needs to make sense for stairs that will be walked on.
Decide, too, whether you are comfortable with visible wear over time. The finished stairs in the example were left without a clear coat, and the owner was willing to let them develop a worn appearance. No schedule or performance claim follows from that choice. If you expect the surface to stay pristine, consider that expectation before settling on an uncoated finish.
Gather the layout materials and pick a width
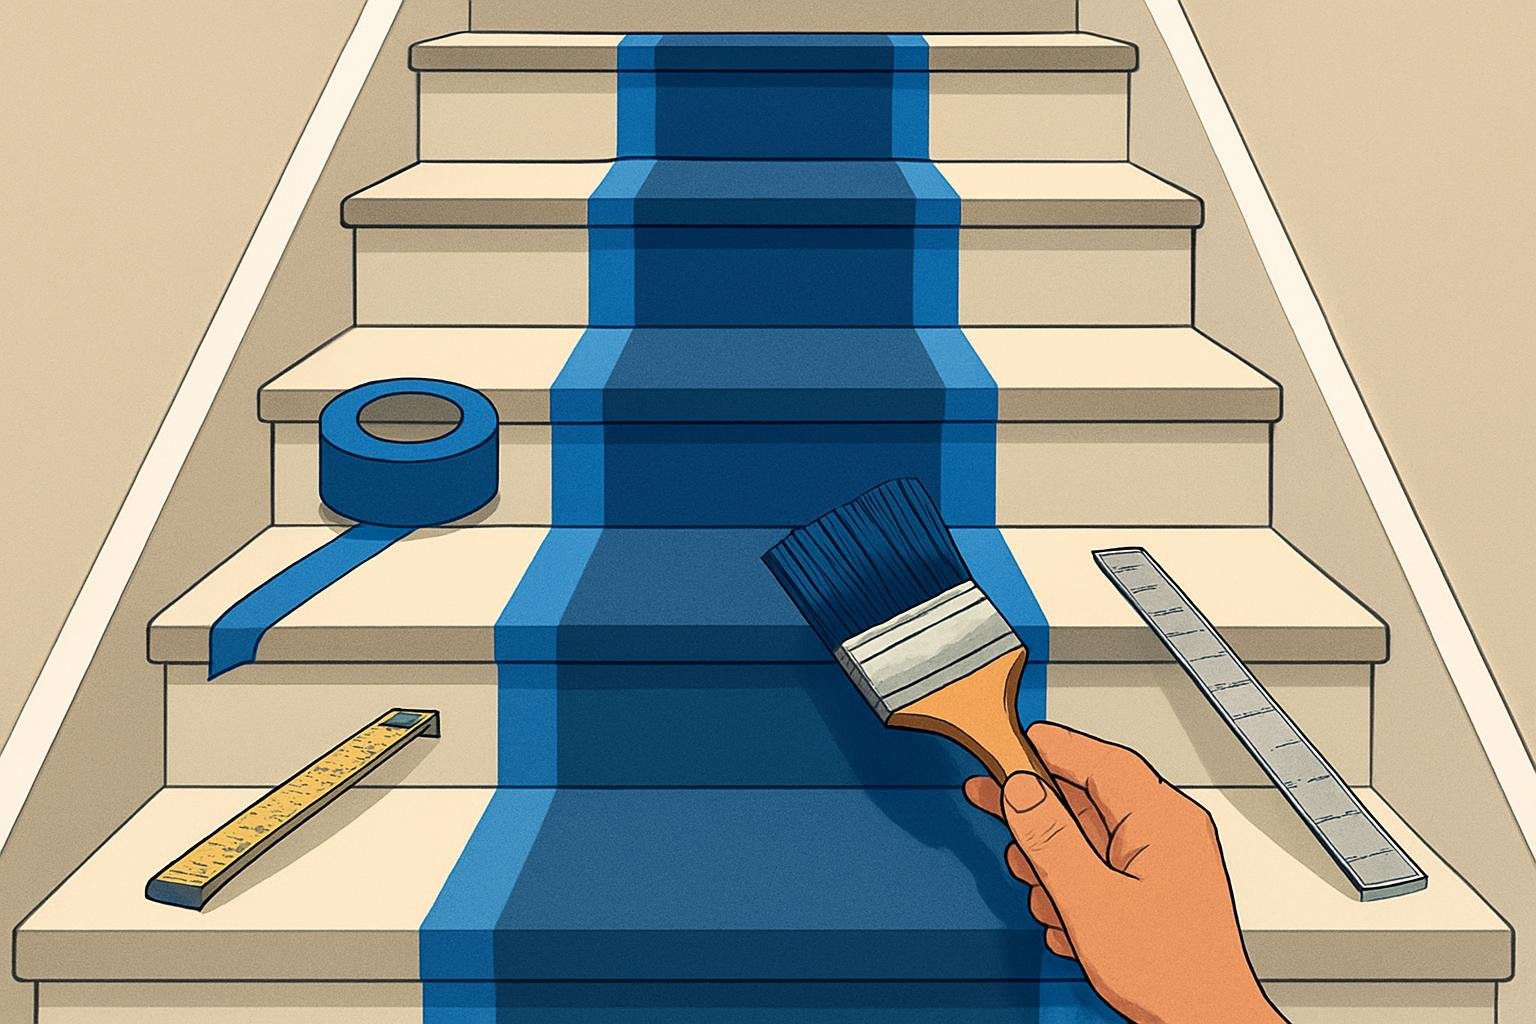
The project used paint, primer, painter’s tape, a tape measure and a carpenter’s square. The tape measure helps establish the runner width, while the square guides straight lines across the steps. Keeping both measuring tools available makes it easier to repeat the same layout instead of estimating anew on each tread.
Choose the width before taping, including how much of each tread you want to leave visible beside the stripe. There is no single width that suits every staircase in the account; it is an appearance decision. Consistency is the practical test. A center band that gradually shifts from one side to the other can look unintended even when each individual piece of tape seems close enough.
Look over the tape path before placing it. The long, flat portions are straightforward, but the tape must also cross the front lip and meet trim. These changes in surface are where edges can be harder to press down securely. Planning the turns and allowing attention for them can prevent a rushed layout from becoming the weak point in an otherwise clean paint job.
Prime and paint the base before laying out the stripe
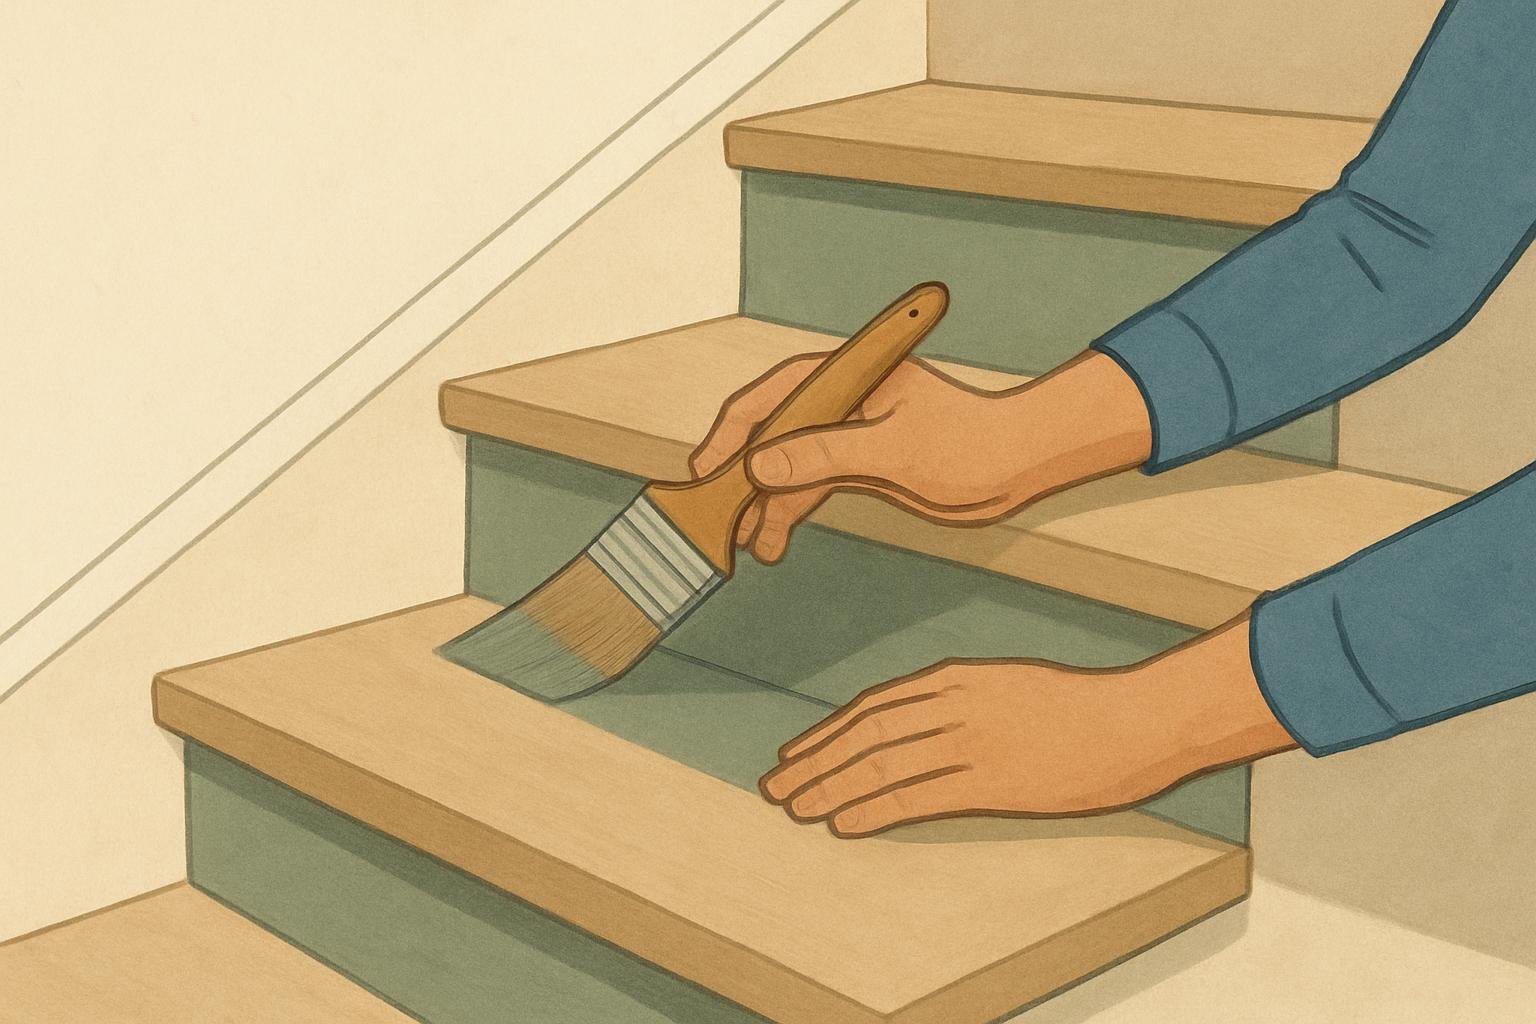
Prime the stairs and apply the base color before marking the runner. This order establishes the surrounding color first, leaving the contrast band to be defined afterward. It also means the base paint is available for a useful step at the tape edges: a pass of that same color can seal the boundary before the contrasting paint goes on.
Take care with the base coat where treads meet lips and trim. Those areas will matter again when the tape changes direction, so a clear, deliberate edge makes later layout easier to judge. The base color is not simply a background that will disappear beneath the runner; it remains part of the finished design and helps frame the central strip.
Let the paint sequence follow the instructions for the products you use. The project account does not provide drying times or a timetable for moving across the stairs, so those should not be guessed. Make access part of the plan: freshly painted steps may affect how you move between levels, and the product directions are the appropriate guide to when work can continue.
Measure both tape lines and seal their edges
Use the square to guide the first straight boundary, then measure the chosen runner width and place the second line parallel to it. Repeat the layout on the other side of the stairs. A consistent reference matters more than the particular object used to mark a distance; a tape measure provides a direct way to reproduce the width as you work through the staircase.
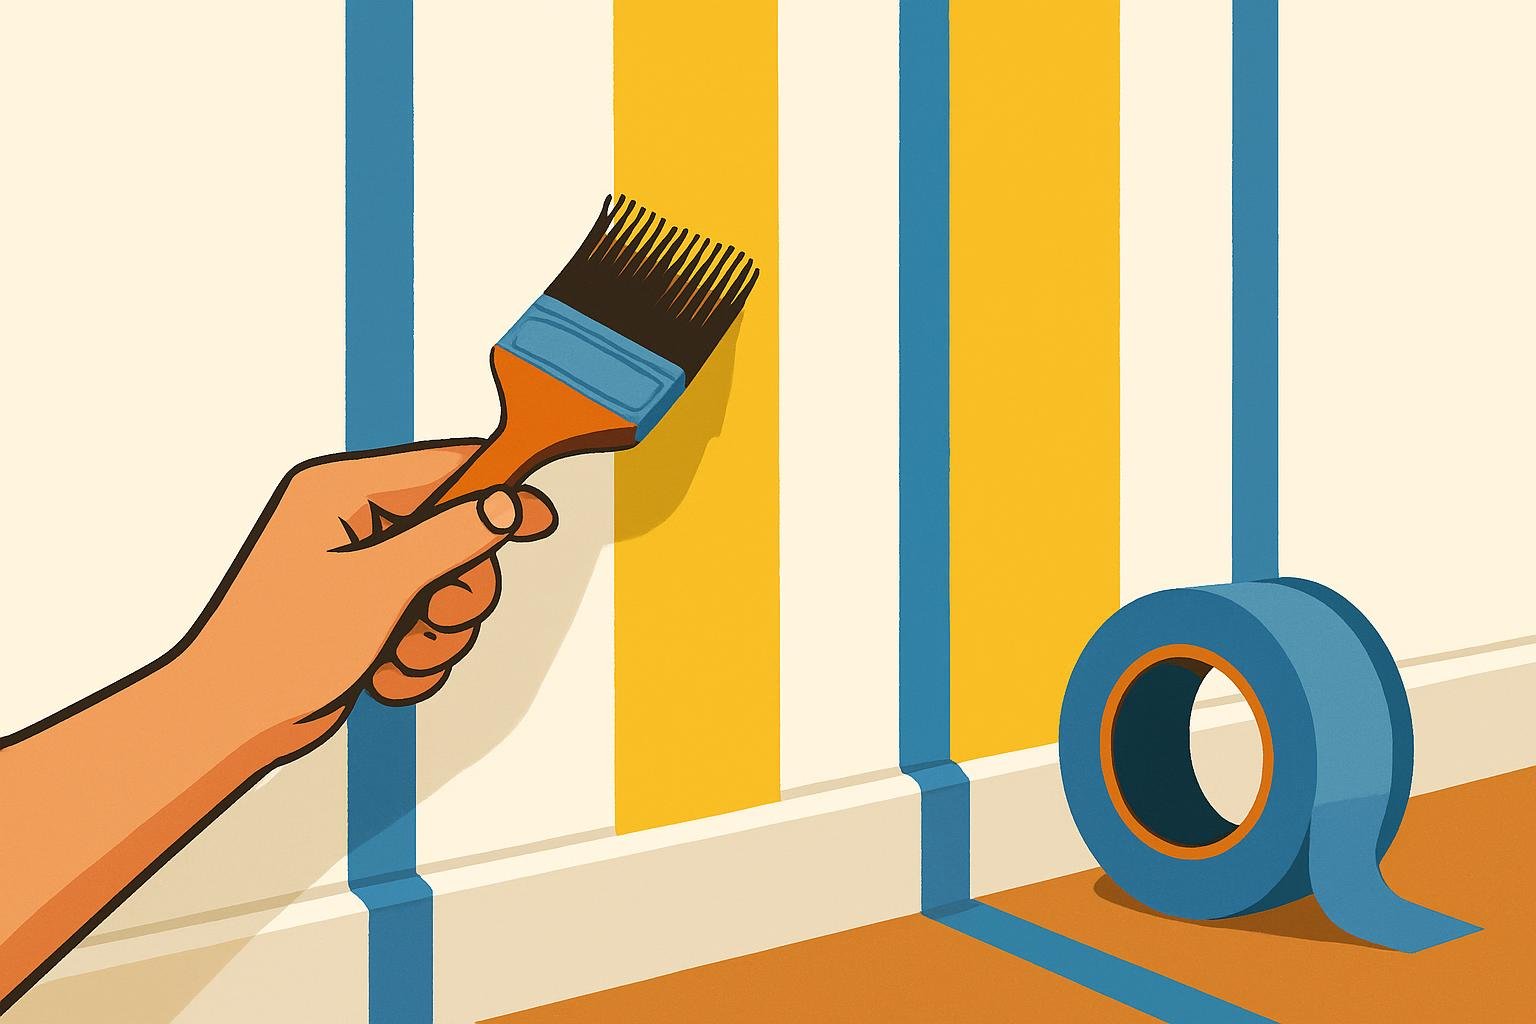
Press the tape down firmly along the flat tread, then check the lip and trim transitions individually. Tape that bridges an edge or sits loosely at a turn can leave a path for paint to creep beneath it. Look at the entire line rather than assuming that a secure section on the broad tread means the corners are sealed as well.
Before applying the runner color, brush the base color along the tape edges. This seals small gaps with the color already intended for the surrounding area. Once that boundary is established, the contrasting paint is less likely to slip underneath and leave an unwanted mark. The step is easy to overlook when eager to paint the stripe, but it addresses one of the most visible sources of uneven edges.
Do not rely on a quick glance to keep both borders parallel. The tape measure and square are there to carry the same plan from step to step, especially where a staircase’s trim creates visual distractions. If a line looks off before the contrasting color is applied, correct the tape while the design is still easy to adjust.
Paint with a usable route in mind
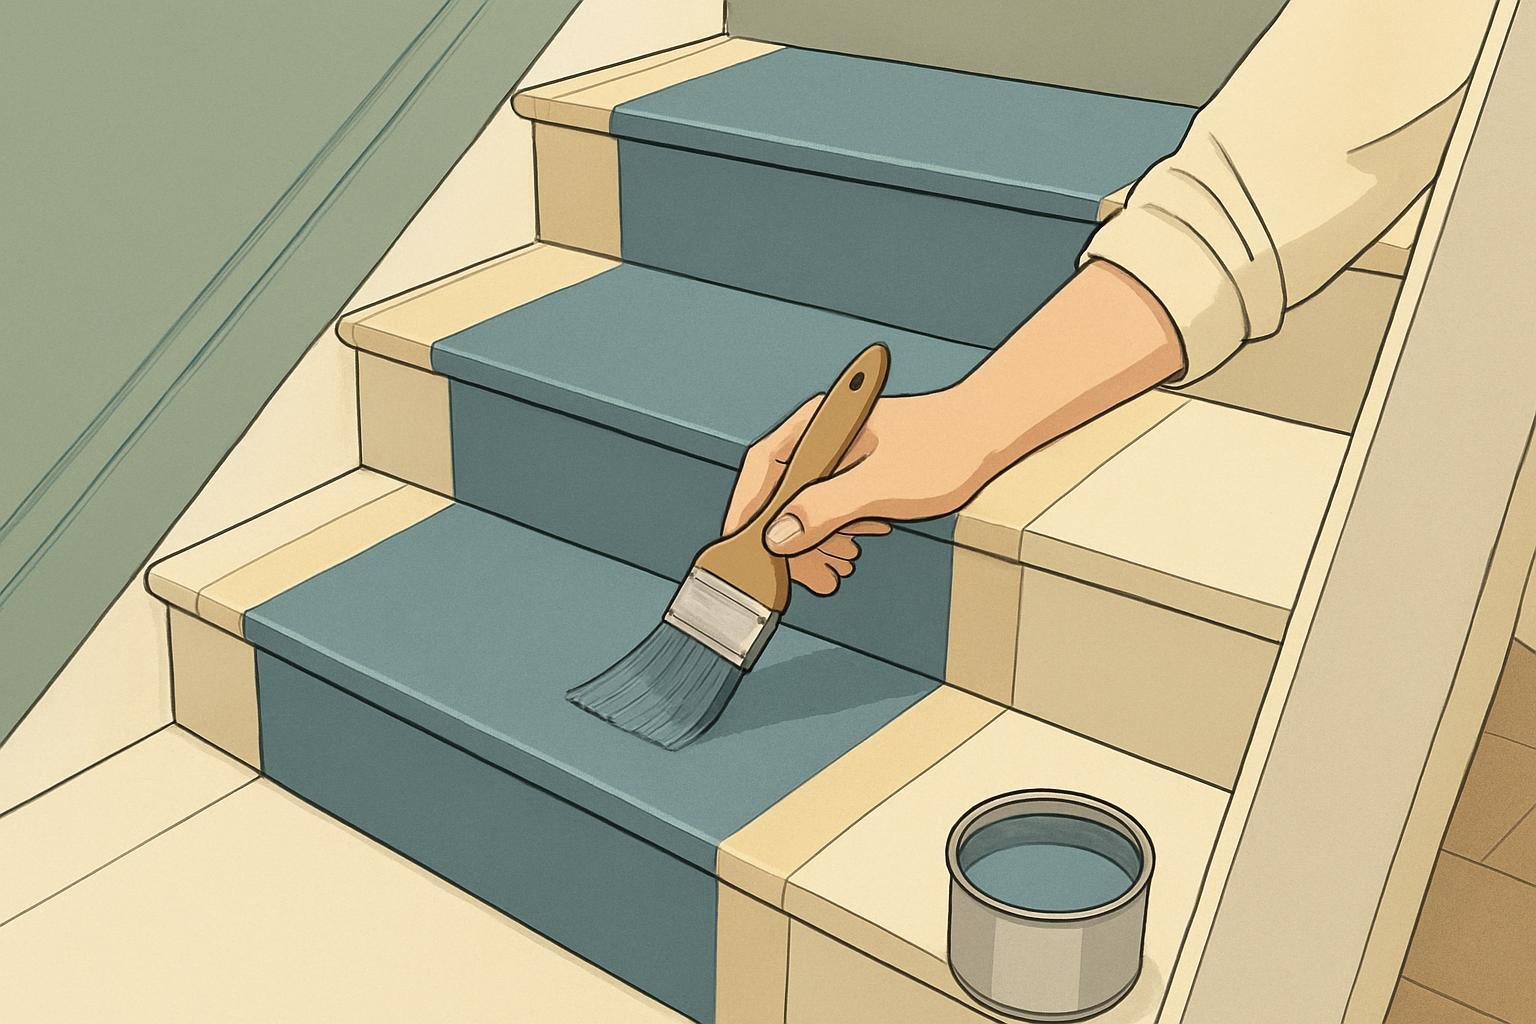
Once the stripe is taped and its edges sealed, paint the stair treads. Consider how you will get up and down before covering the walking surfaces. One option is to paint every other step, preserving dry steps between them. In the example, the painter instead worked without alternating because there was enough dry room at the sides.
Neither sequence should be treated as automatic. The available space and the route you need to keep open will determine what is workable. Decide before starting rather than discovering halfway through that the steps you need are wet. The important distinction is between having a genuinely usable dry route and assuming that a narrow area will be enough.
Keep the runner layout and the walking plan in view at the same time. Taping creates a visual pattern, but it does not change the fact that the treads are the surfaces being painted. Work methodically across the areas you can reach while preserving the access you planned, and use the paint and primer instructions to guide when you can return to treated steps.
Think about traction and everyday wear
The example used a paint additive to give the surface a slightly rough texture and add traction. That decision reflects the practical use of stairs, where a smooth-looking finish is not the only concern. If you consider an additive, check its directions for the paint you have chosen rather than assuming products can be combined without regard to their instructions. The account establishes no traction rating or guarantee.
After painting, the stairs were maintained by sweeping and vacuuming. That routine kept the finished surface simple to clean, but it does not mean every painted staircase will wear identically. The owner accepted that the paint might look worn over time and chose not to add a clear coat. Make the same kind of decision based on the appearance you can live with, and leave the final tape-edge check until the painted boundaries look consistent across the steps.