How to Repair Wood Floor Scratches—and Know When to Stop
A scratch on a wood floor can be a mark in the protective finish, a shallow blemish in the wood, or a deeper gouge. The repair should match the damage: a cosmetic cover-up may help a faint line, while a deep cut or broad area of water damage calls for a more substantial fix. Start by clearing away dirt and identifying how far the damage goes before choosing a method.
That distinction matters because some treatments only make a scratch less visible. They do not restore the floor’s finish or replace missing wood. Forcing a larger repair into a small, superficial mark can create extra work, while treating a deep gouge as a surface scuff is unlikely to solve it.
Check the floor before trying a repair
Look at the mark after removing loose grit from the area. Dirt can make a floor appear more scratched than it is, and particles worked across the surface by foot traffic can contribute to real wear. A gentle initial cleaning also gives you a clearer view of whether you are dealing with a surface mark or a deeper loss of wood.
Choose a light vacuum without a beater bar or a soft-bristled broom. Stiff bristles, vacuum wheels and beater bars can scratch or dent the floor, even when the rest of the cleaning is done carefully. Once loose dirt is gone, use a hardwood-floor cleaner suited to the floor and a mop intended for wood floors. The protective finish helps guard the wood, but unsuitable cleaners can remove that finish and leave the surface more vulnerable.
Then sort the damage into three broad groups. A superficial scratch affects the appearance of the surface; a minor scratch may need more focused treatment; a deep gouge has removed enough material that filling or professional refinishing may be appropriate. Widespread damage and water damage deserve a separate assessment rather than repeated spot repairs.
For a faint surface scratch, try a cosmetic treatment
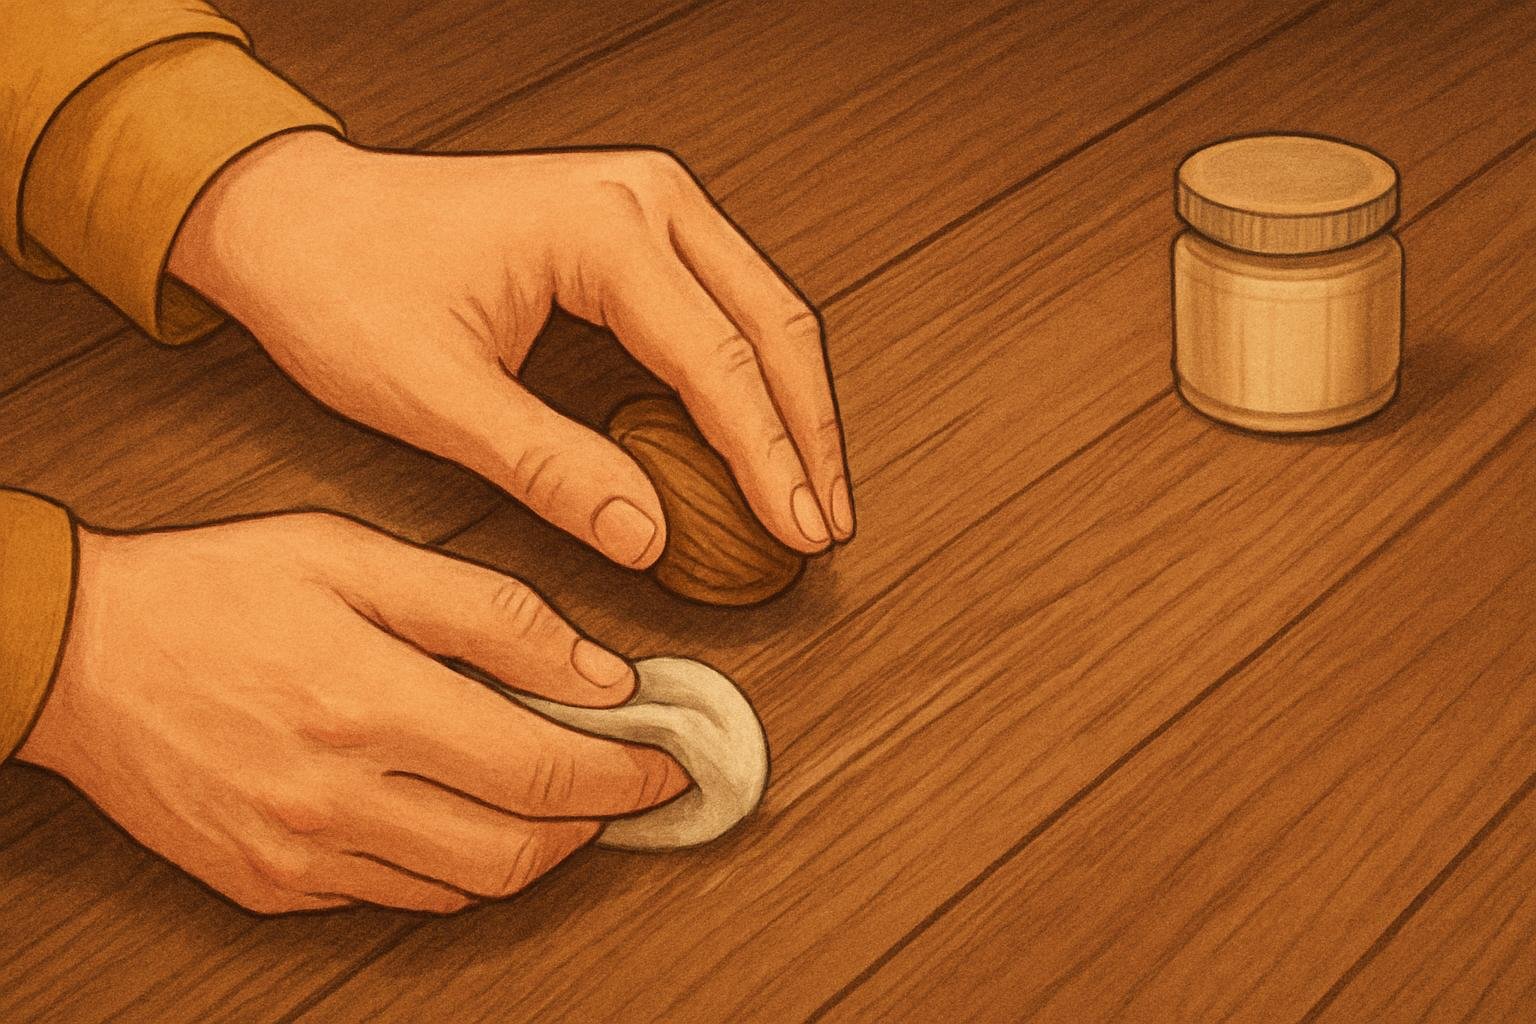
A walnut can make some superficial scratches less noticeable. Rub the nut in your hand first to loosen its oils, then work it vigorously over the mark. The oils and natural brown color can enter the scratch. Let them sit briefly, then buff the area with a soft cloth.
This is a visual treatment, not a way to rebuild the finish or replace wood. Its usefulness depends on the mark being shallow enough for the treatment to address. If the line remains prominent, move on to a method intended for a more noticeable scratch rather than repeatedly rubbing the same spot.
Another option for a superficial mark is a paste made from equal parts olive oil and baking soda. Apply it with a soft cloth and rub it into the scratch. The baking soda provides mild abrasion, while the oil fills the mark. Leave the paste in place for a few minutes, then buff it away with a damp cloth using a circular motion.
These pantry treatments are narrow fixes for minor appearance problems. They are not substitutes for filling a gouge, restoring a worn finish or addressing water damage. If a mark changes the surface substantially, use the repair method that matches its depth instead.
For minor scratches, clean first and work with the grain
A microfiber cleaning pad and wood-floor cleaner may reduce the appearance of marks caused by dirt, shoes, pets or furniture. This is a sensible first step when the damage looks light: a mark partly made up of surface grime may become less conspicuous after cleaning. A wood-floor scratch cover is another cosmetic option; pigments and dyes can help disguise a scratch by matching the floor’s tone.
Keep the limitation in mind: scratch-cover products conceal damage but do not repair or restore the floor’s finish. Color matching also matters to the result. If the mark is still visible after cleaning or concealing it, a more involved treatment may be needed.
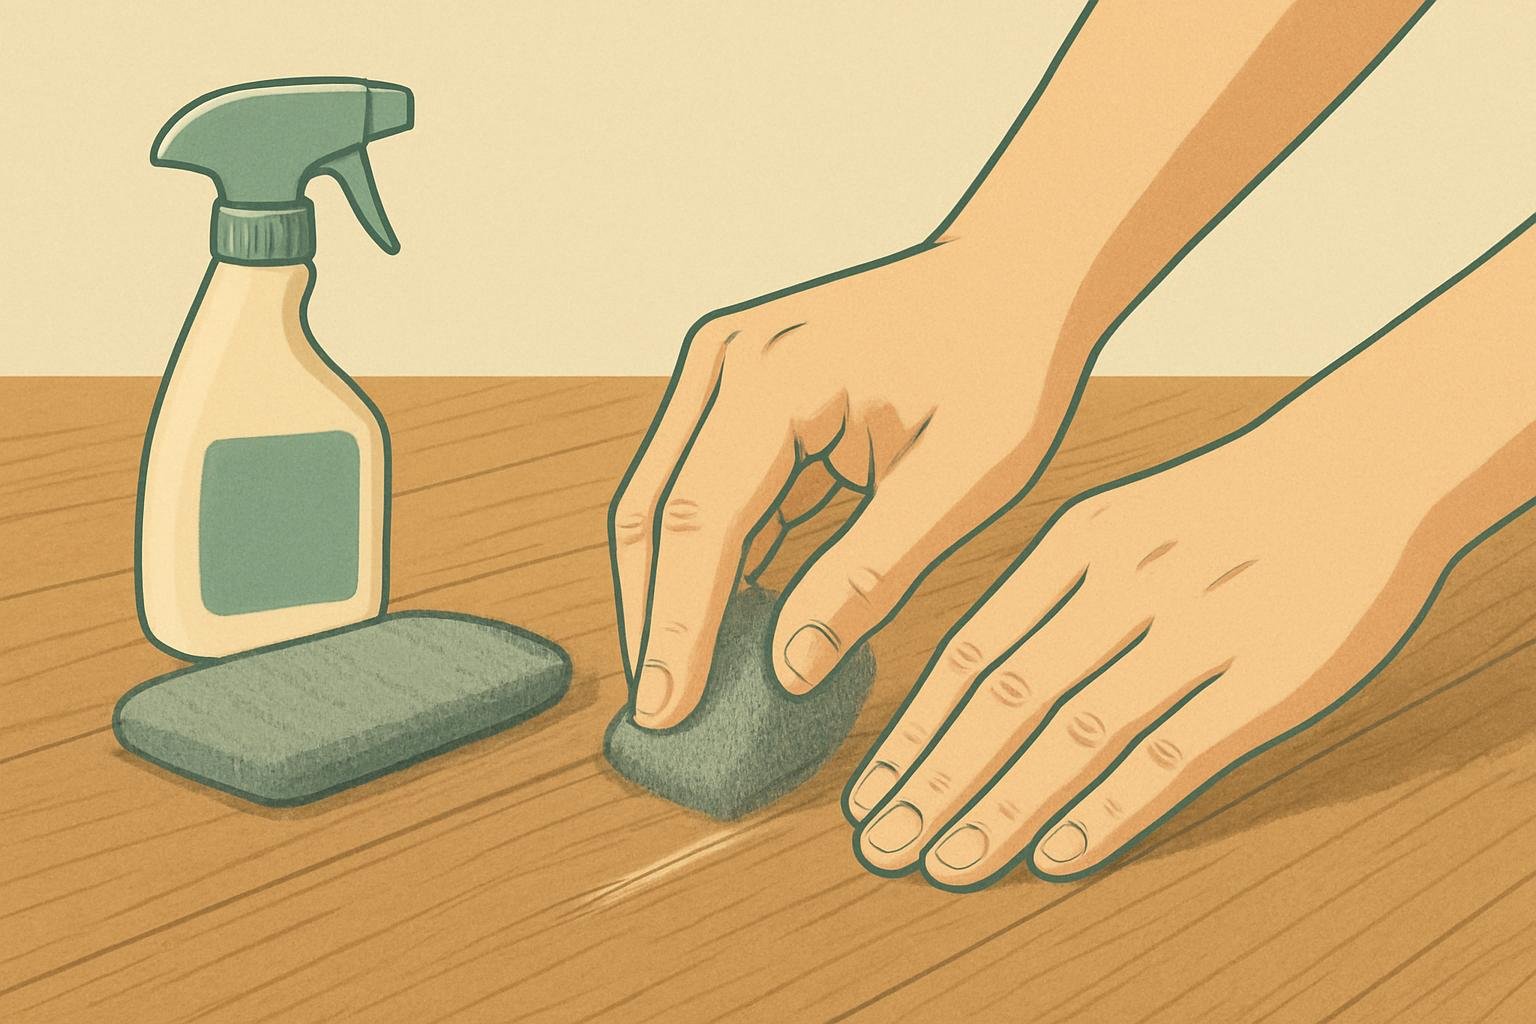
For a minor scratch, a vinegar solution and fine-grade steel wool are another option. Mix equal parts water and vinegar, apply a small amount to the scratch and allow it to soak for a few hours. Then rub the area with the steel wool, following the direction of the wood grain, until the scratch disappears.
The direction of the grain provides a clear guide for the rubbing step; working across it would depart from the recommended method. Use this approach for minor scratches, not as a shortcut for a deep gouge or widespread damage. The latter needs a different level of repair.
For a deep gouge, fill and finish the damaged spot
Deep scratches and small holes may be repaired with wood putty or pre-colored latex wood filler. Choose a color as close as possible to the floor. Fillers come in multiple colors, and a single shade may not match exactly, so some blending may be needed to get closer to the surrounding wood.
After applying putty, sand the repaired area until it is smooth, then stain it to match the floor. A pre-colored latex filler can also be used for small, deep holes; the repair sequence is to fill, sand, stain and finish the spot. These steps address a limited area where material is missing. They do not make a deep repair appropriate for every damaged floor.
Pay attention to the difference between hiding a line and rebuilding the surface. A scratch cover uses color to disguise a mark; filler occupies a hole or gouge. If the damage is too extensive for a small repair, or the floor has water damage across a wide area, a patch is unlikely to address the underlying problem.
When to bring in a flooring professional
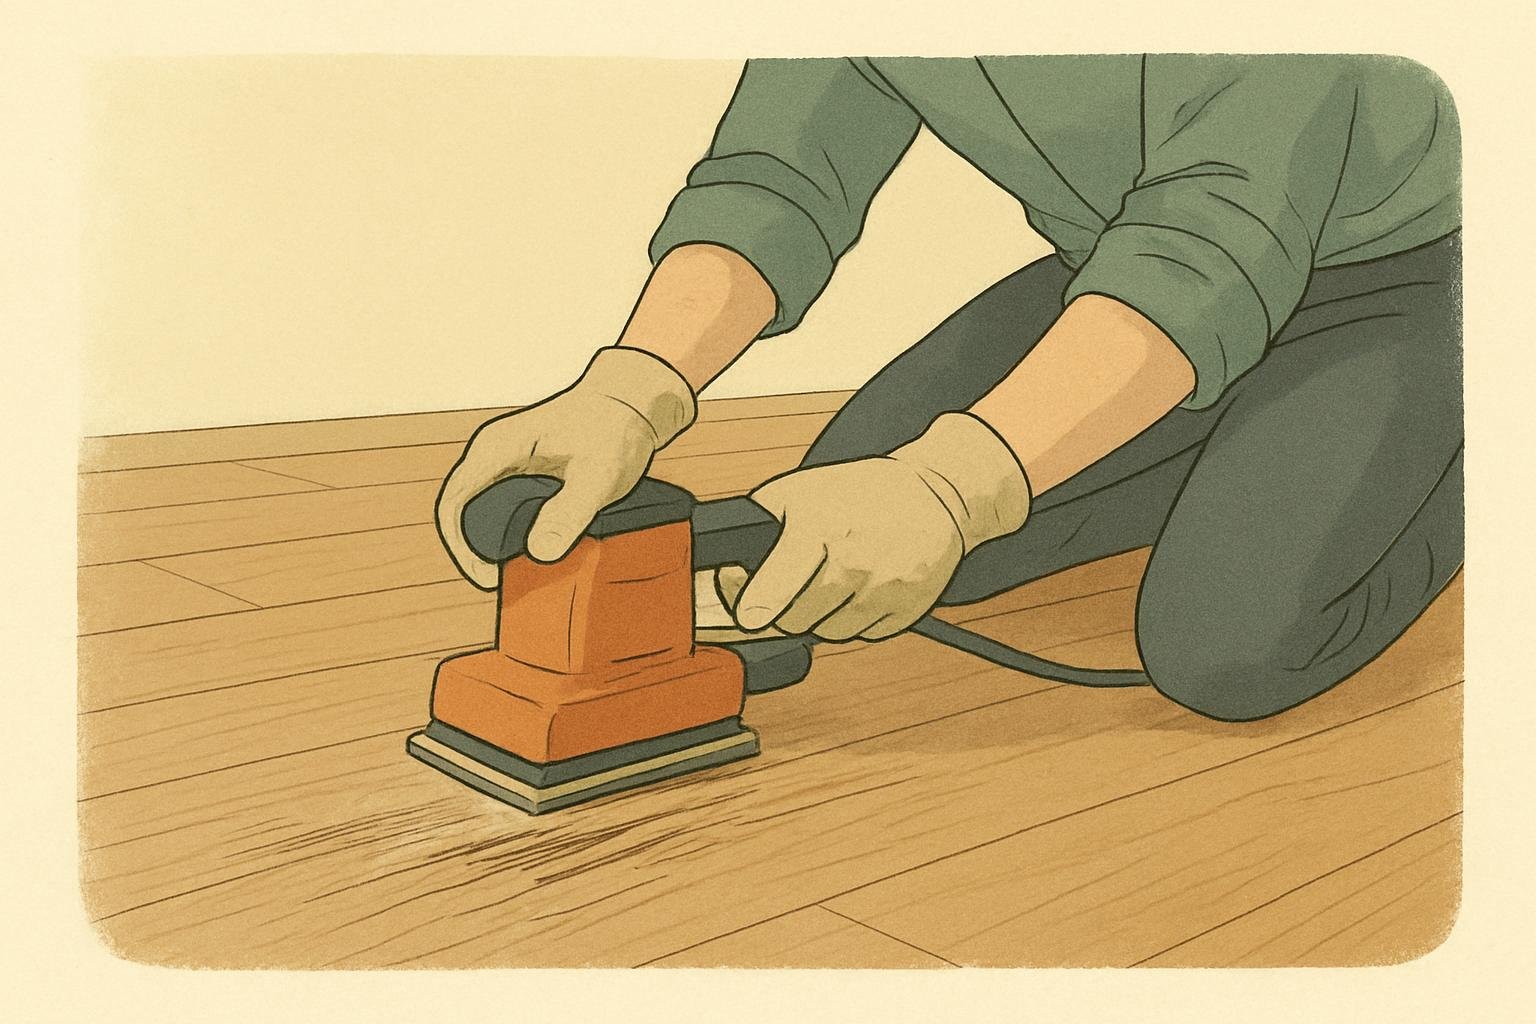
Deep scratches or water damage spread over a larger area may call for sanding and refinishing by a hardwood-floor professional. Sanding removes a layer of wood, along with gouges and other imperfections such as paint or water damage, before the floor is refinished. It is a more substantial intervention than a spot treatment, so the extent of the damage matters.
A hardwood floor can typically be sanded and refinished four to six times over its lifespan, depending on its thickness and the professional’s expertise. That limit is a reason to have broad or severe damage assessed rather than treating sanding as an unlimited solution. A flooring professional can help determine whether refinishing is suitable for the particular floor.
Replacement may be the only option when gouges are too deep to repair or damage is widespread. Severe structural damage and water damage may not be fixable with the methods used for scratches. If the problem extends beyond the surface, do not assume that filler or another round of sanding will resolve it.
Reduce the wear that leads to scratches
Prevention begins with the sources of abrasion and pressure. Grit and dirt can be ground into a floor by regular foot traffic, while furniture dragged across the surface can cause substantial damage. Pet nails and shoes can also leave marks; high heels can concentrate weight in a way that dents or scratches the floor.
- Place pads under heavy furniture, stools and chairs. Avoid dragging furniture across the floor.
- Use rugs or runners in high-traffic areas to shield the wood surface.
- Remove loose dirt regularly with a soft-bristled broom or a small vacuum without a beater bar.
- Consider a no-shoes rule indoors to limit tracked-in grit and shoe marks.
- Keep pets’ nails properly trimmed.
- Apply wood polish periodically as a protective barrier against scratches.
Careful cleaning and simple barriers can reduce new marks, but they will not make wood indestructible. When a scratch appears, clean the area first, choose a treatment suited to its depth and reserve professional evaluation for deep or widespread damage.